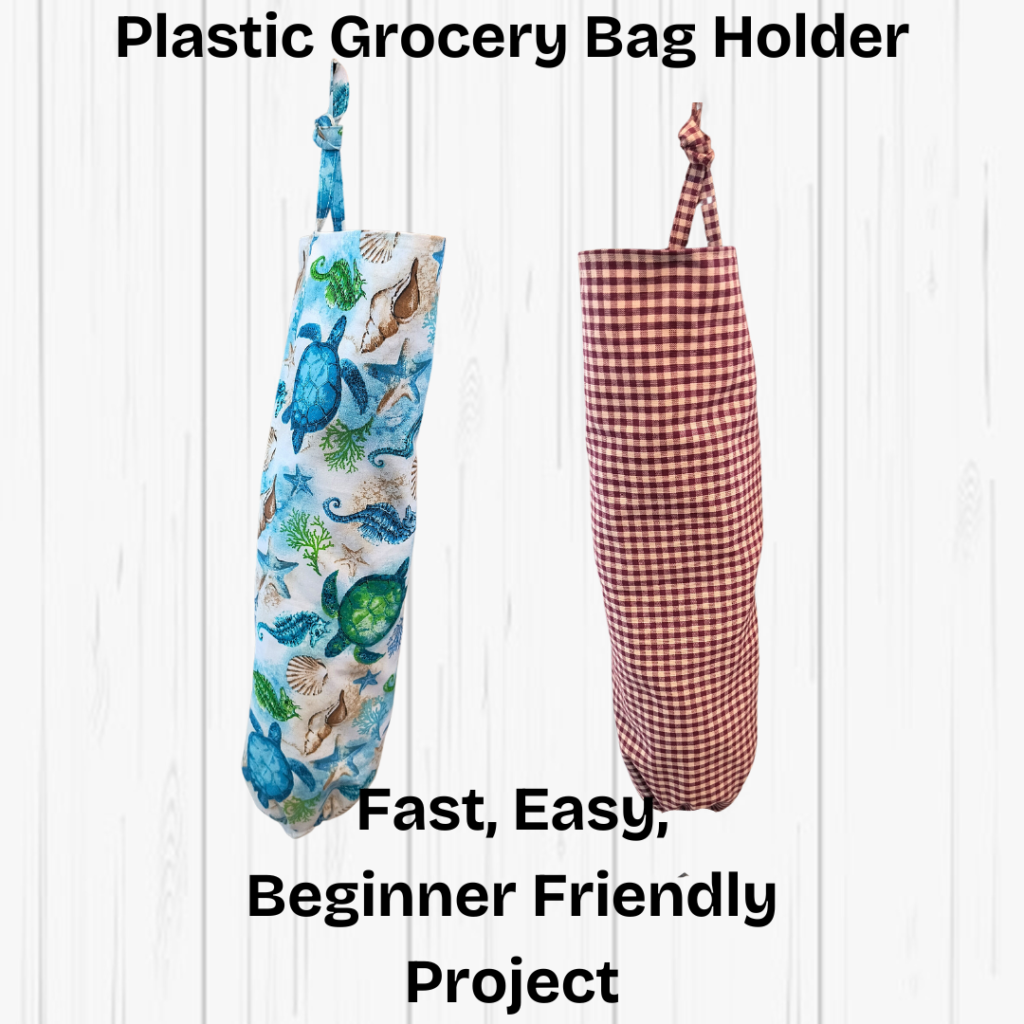
Let’s make a plastic grocery bag holder for your kitchen! How many plastic grocery bags do you have? Where do you stuff them? Let me guess; under the sink, in a drawer, or in a basket. They are always popping out and driving you crazy. Am I right? The plastic grocery bag holder is fast, easy, and beginner friendly!
I kind of have a “kitchen” theme going on this month! My free project for Jan./Feb. was a “Snowman with Hearts” kitchen towel. What? You didn’t receive the free project? Sign up on the form below to receive my Monthly Challenge Calendar and access to free projects every other month! This enables you to receive the next five for free as they come out through out the year.
Plastic Grocery Bag Holder
Supplies:
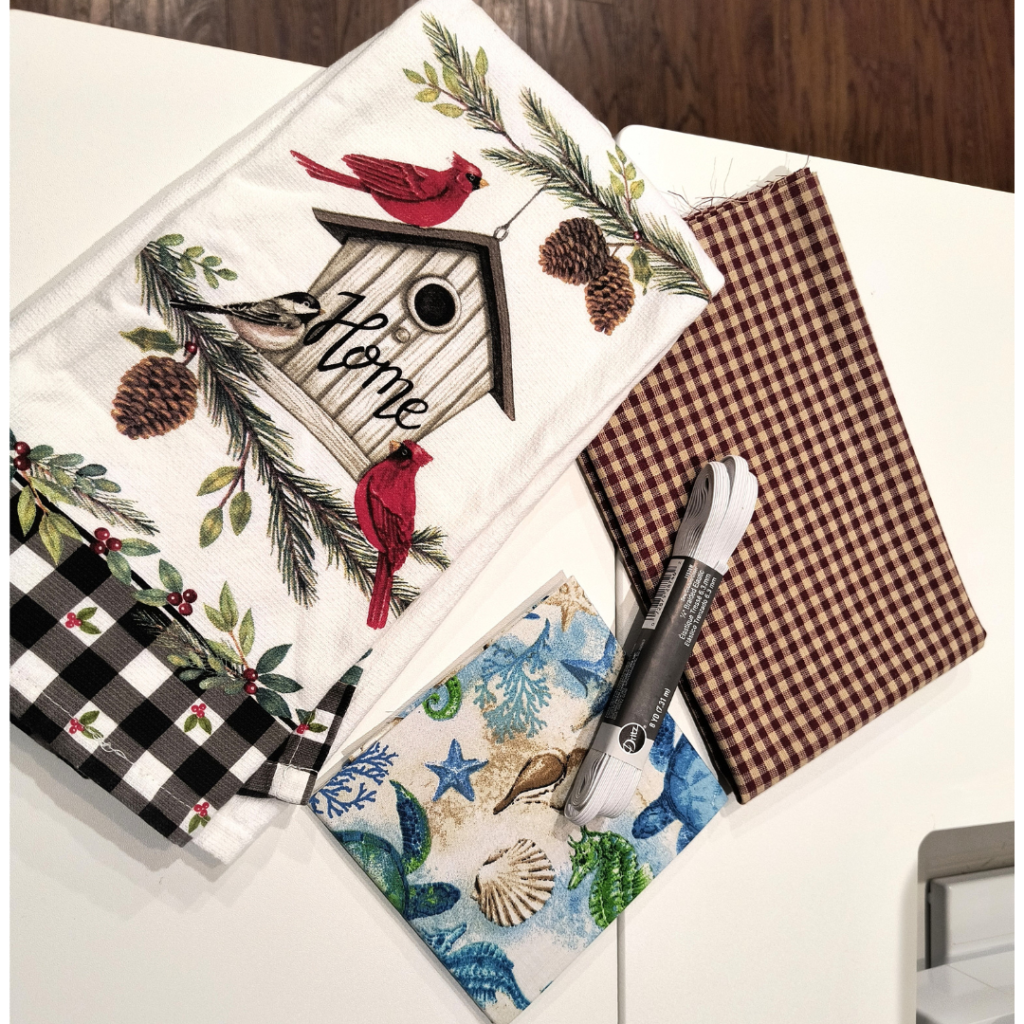
- Fat Quarter, Kitchen Towel, or a patchwork piece that you create. Each one needs to measure 16″x 20″.
- Elastic- 1/4″ cut into a 6″ piece
Steps:
I used a fat quarter for this project. It worked out great because you use the whole fat quarter and there’s no remaining scraps! I also cut one from the fabric yardage. The towel was the right size, but I didn’t make one from it.
Iron your fat quarter and cut off 2″ along the 22″ side.
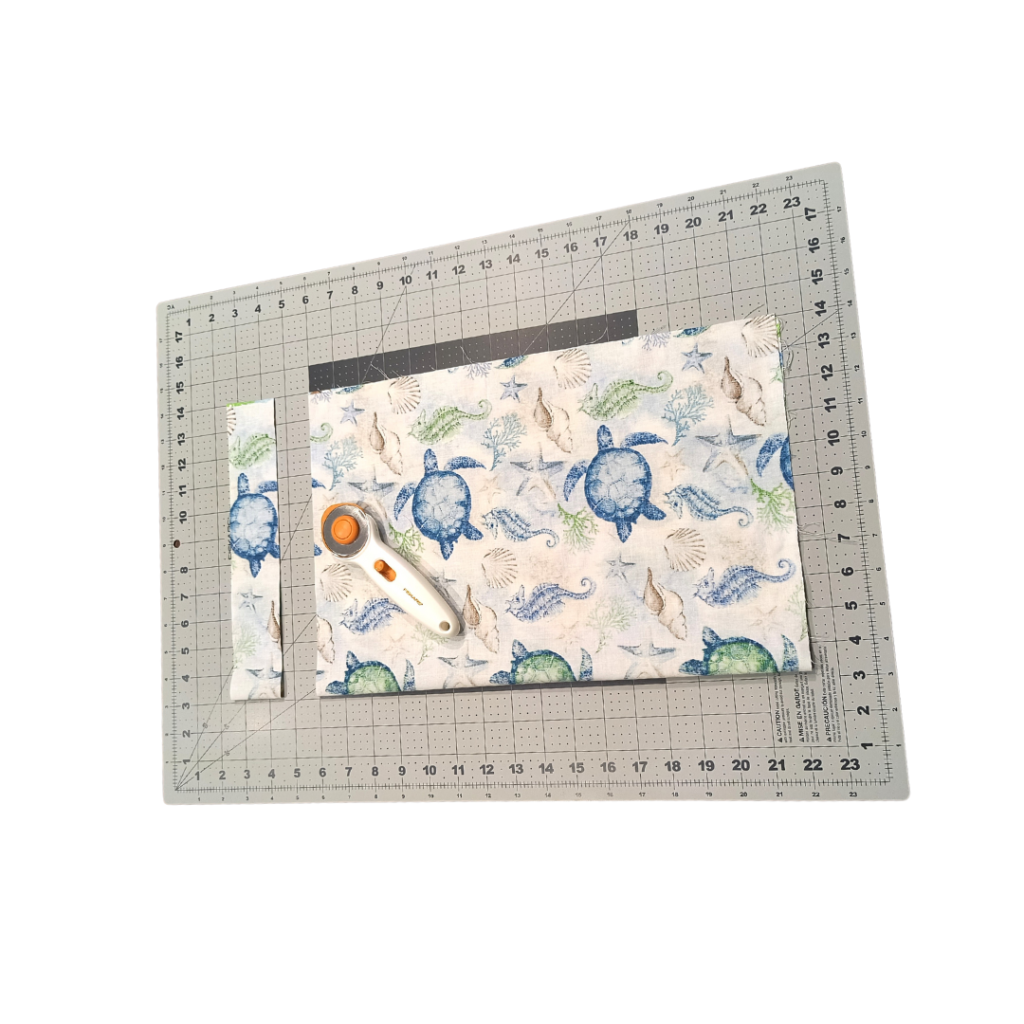
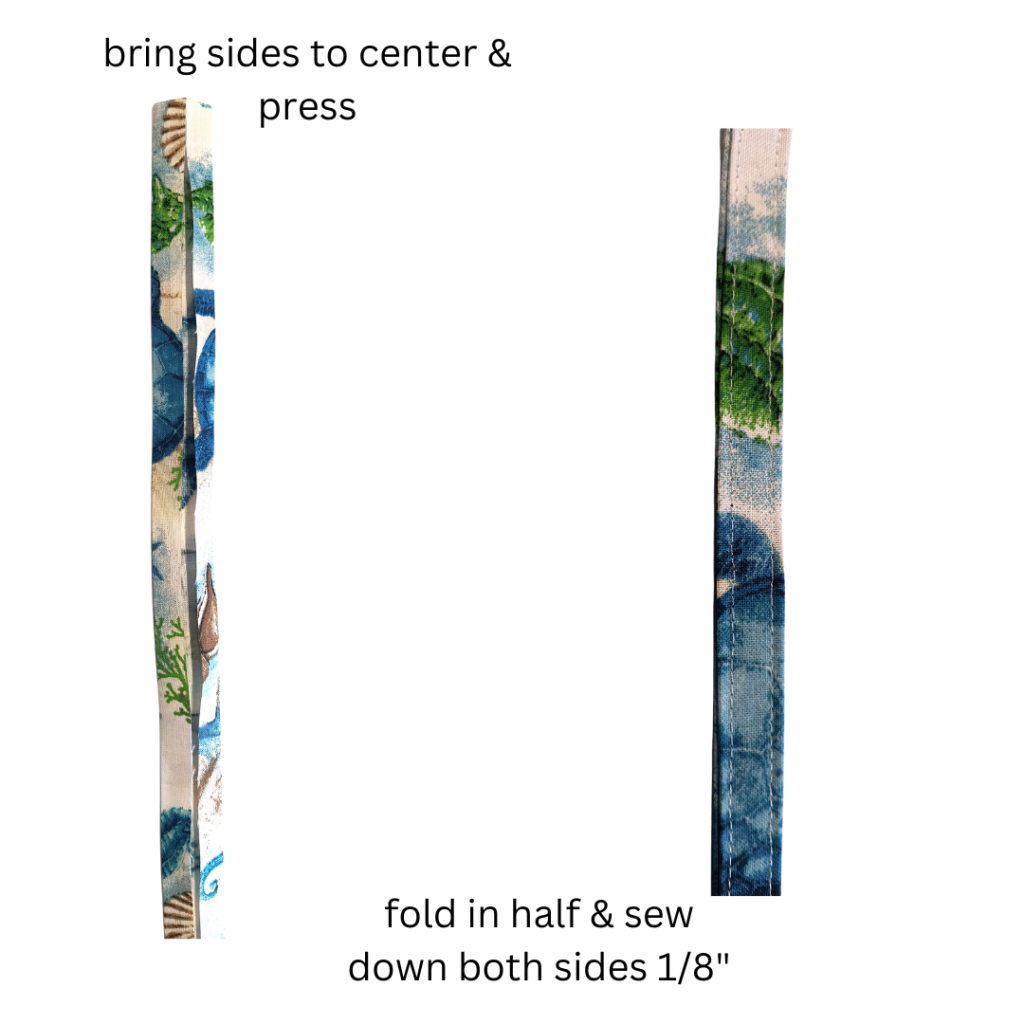
Take the 2″ piece(this will become the loop to hang the bag holder) press in half, open and bring the sides to the center. Press. Fold in half and sew down each side about an 1/8″. Set aside.
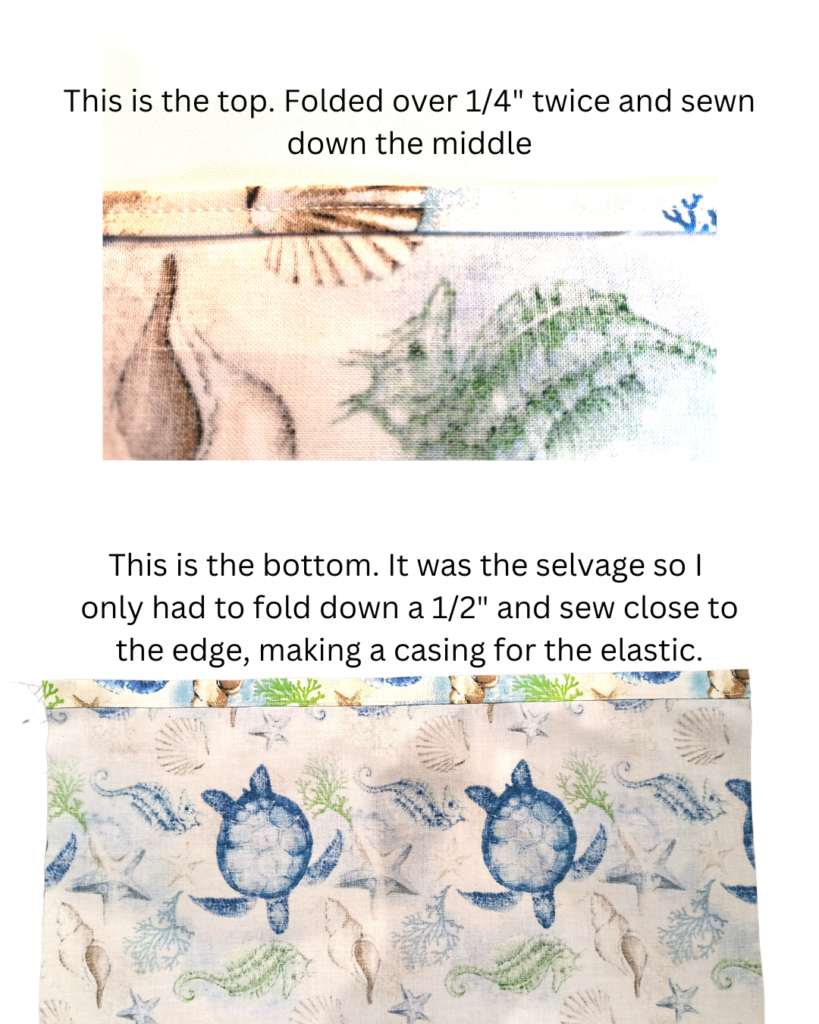
Take the main piece of the fat quarter. It should measure approx. 16″x 20″. The top and bottom are the 16″ sides. To finish the top, fold and press a 1/4″ down, twice. Sew it down through the middle.
Form your casing for the elastic along the bottom. Fold and press a 1/4″ then fold and press a 1/2″. Sew an 1/8″ along the edge. This forms the casing to hold the elastic.
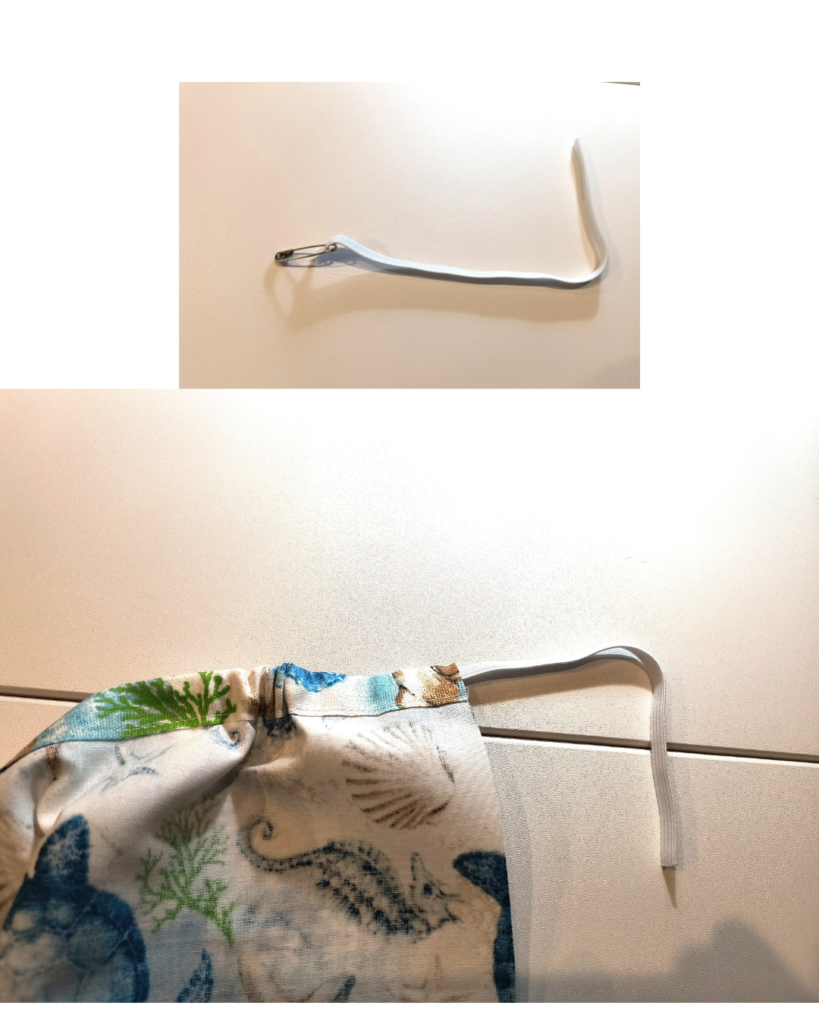
Grab your 6″ piece of elastic and place a safety pin on the end. Place the safety pin into the casing and scrunch the fabric up onto the pin and feed it through. When the end of the elastic reaches where you entered the casing, stop and sew it down along the edge. Backstitch several times to hold it in place. Continue feeding the pin through until you come to the other side. Take the pin off and sew the elastic down along the edge backstitching several times.
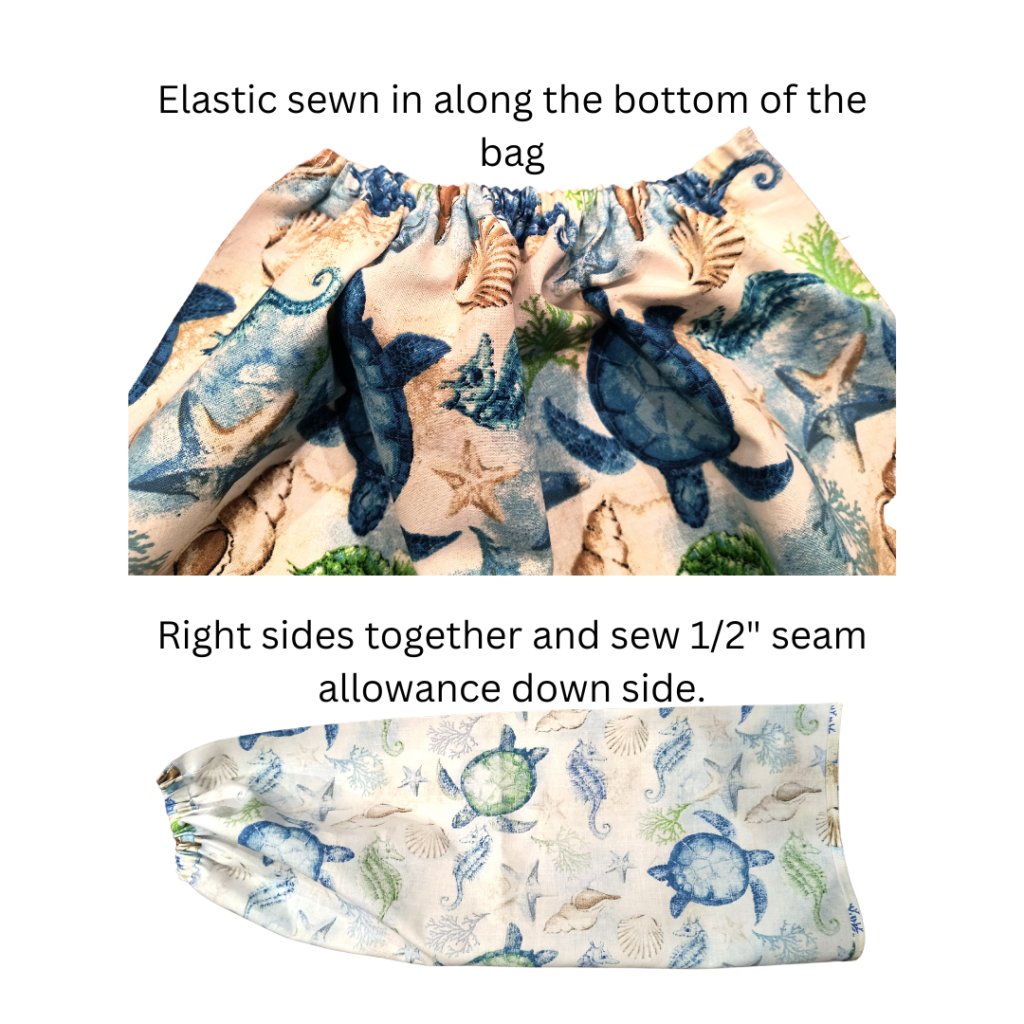
Place the fabric right sides together and sew a 1/2″ seam allowance down the 20″ side making sure to backstitch at the beginning and end. To help keep that seam from fraying I ran an overcast stitch down the edge of the seam. A zig zag would also work. Cutting the edge with pinking shears would work as well.
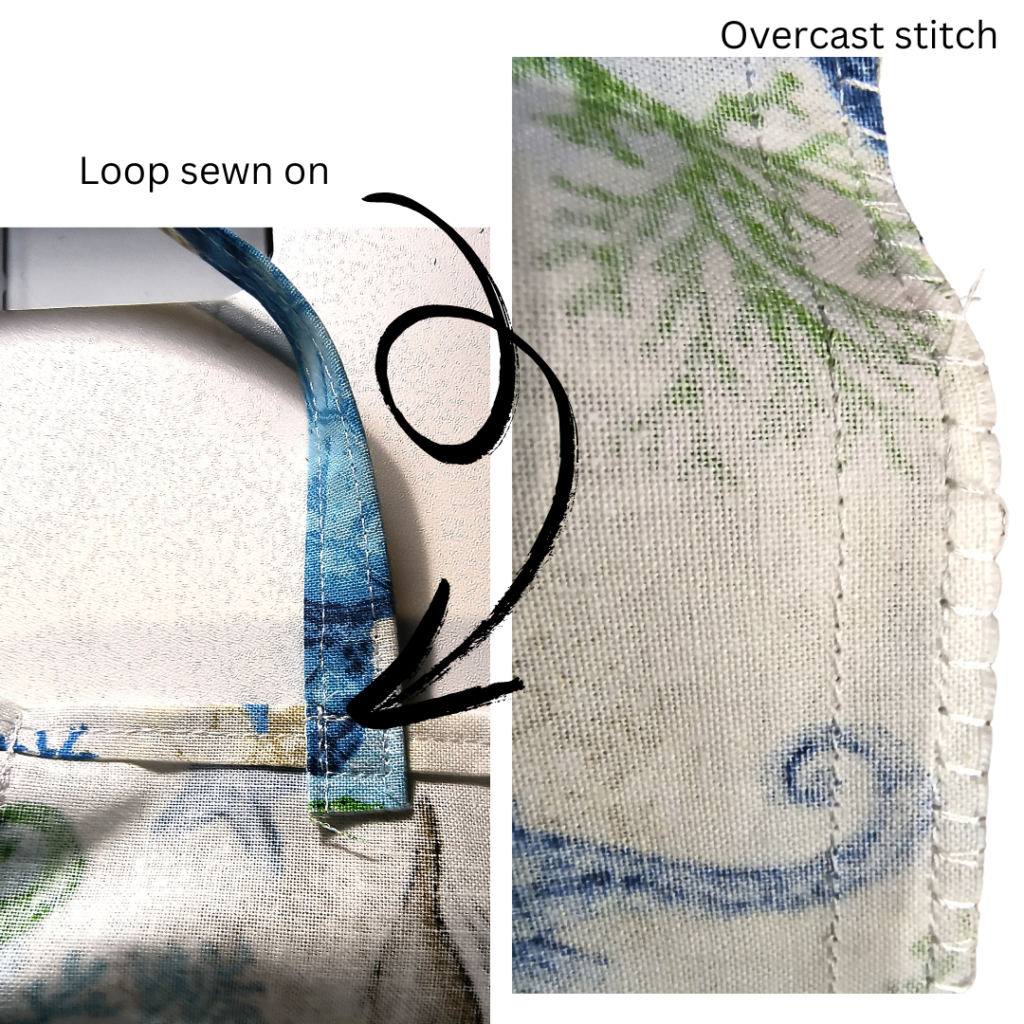
Time to finish with the hanging loop. I placed one end on one side of the “side seam” about 2″ out. I sewed it down for strength in a square. (see picture above). I repeated the other end on the other side the same way.
Turn right side out and adjust the loop by making a knot.
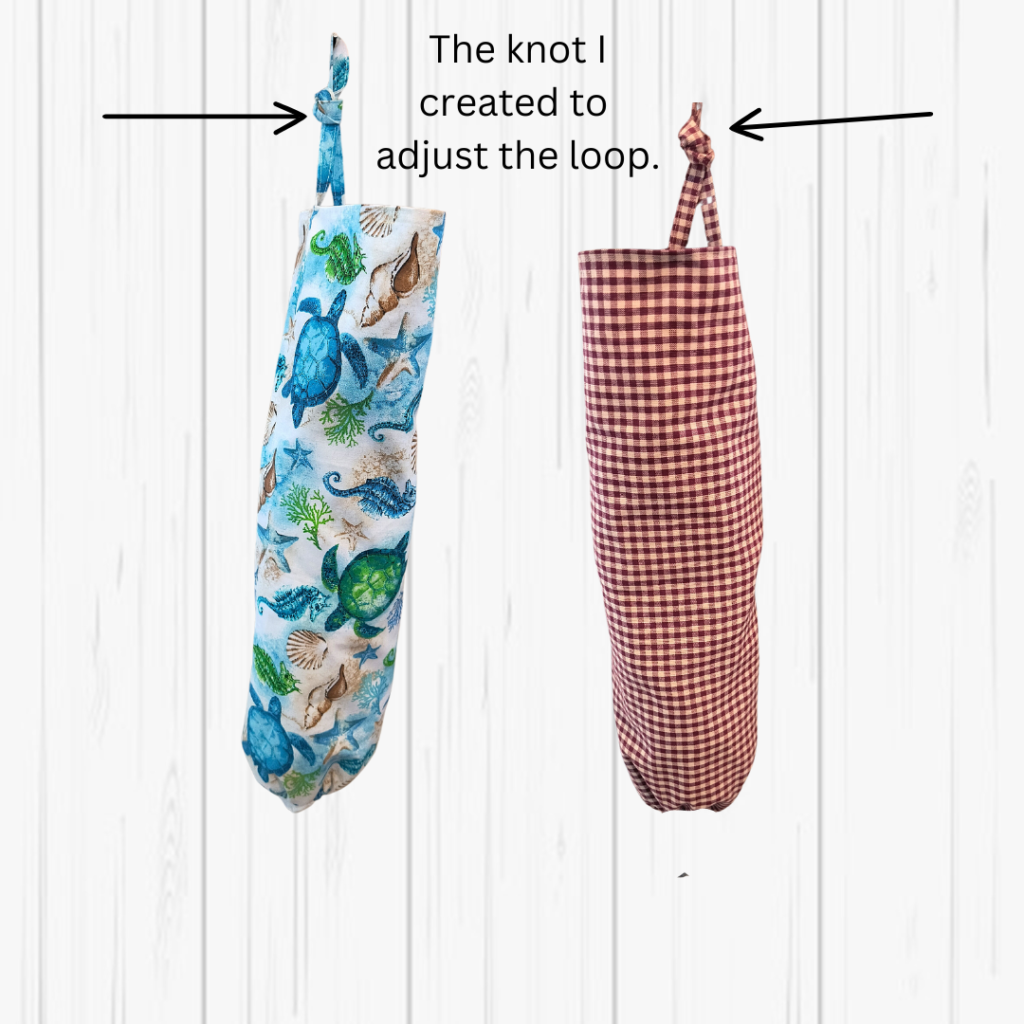
These went together really quickly! I made both of them in a couple hours.
Check out my other blogs, The 10 Minute Table Runner and The Jar Opener Tutorial: It Makes A Great Gift, for some other “Kitchen” related projects!
Please don’t forget to join the private Facebook Group, Quilting Friends of Jerianns Handmade. In there we discuss the calendar events, share our projects, and ask questions. Please Like and Follow me on my Facebook Page, Jerianns Handmade and follow me on Instagram at Jerianns.Handmade!
Have a great day and “Always Find Time To Sew”,


I approve of this holder
Thanks Nate, Everyone should know you asked for one and received the red plaid one I made! Glad you like it.
Jeri Ann (Mom)