
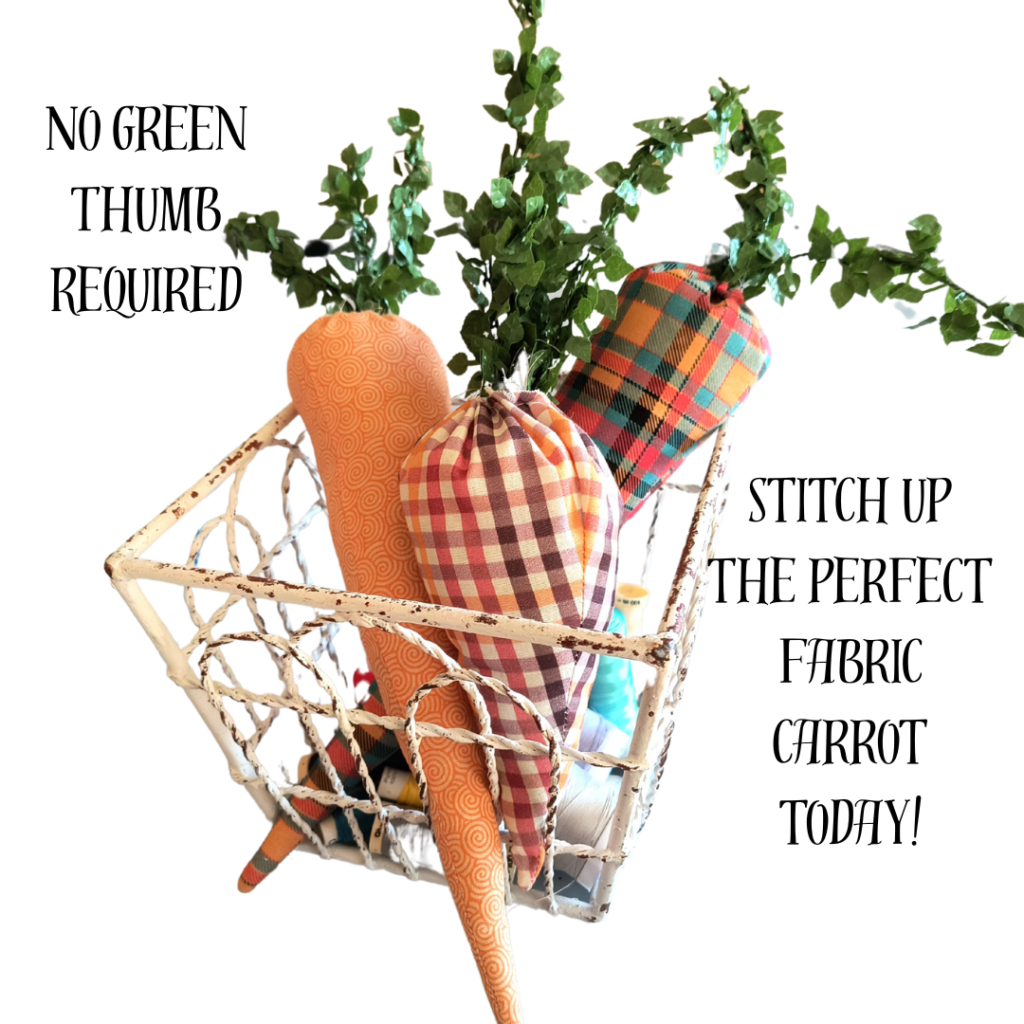
I’m sticking this little blog in right before Easter so you will be able to make some darling fabric carrots. It’s a quick tutorial, no green thumb required, just stitch up the perfect fabric carrot today!
I make these in an “assembly line” order and you should be able to crank a lot of them out in a short amount of time! Just in case you don’t know what “assembly line” order means in the sewing world, here is a quick explanation.
Assembly Line Order
Basically, it means finishing each step with all your carrots first, before moving on to the next step. Let’s get started and I think you will understand!
Steps In Making A Fabric Carrot
Gather fabrics for the carrots. It takes two pieces, a front and a back of the same size. Rectangles 4” wide by 12” long make nice size carrots. I want my carrots to be different sizes so changing the length is how you do that while keeping the width at 4”.

With your fabrics RST (right sides together) Take your rectangles and mark a dot at the middle of the 4” side along the bottom. That’s at 2”. Next draw a line from the top left corner to that dot and a line from the top right corner to that dot. Pin these rectangles together. Finish this step with all the carrot rectangles you are making.

Next take your rectangles to the sewing machine and sew on the lines. Sew from the left side down to the dot making sure to knot at the beginning and end. Then start at the dot and sew up to the right corner knotting at both the beginning and end. Do this with all your rectangles.

Now it is time to cut out your carrots just to the outside of the sewn line. Turn them right side out carefully poking out the tip to a point.

Fiberfil is what I used to “stuff” the carrots. Use a chopstick to carefully poke the Fiberfil down in the tip. Use small pieces of Fiberfil at a time to stuff the carrots.
Baste around the top by hand. Thread the needle with a long piece of thread. Leave about 3″-4″ hanging from where you begin so you can pull both ends and tighten up the hole and knot off when finished. Before tightening up the hole you will want to place greenery of some sort to represent the carrot top. I’ve used green raffia, but this year I bought a ring of greenery from Hobby Lobby to use. Cut several pieces about 3-4” long and use the glue gun to glue them on the Fiberfil.

When you have what looks nice to you, pull the threads to tighten up the hole and knot it off.

Feel free to make these carrots in any colors. They don’t have to be orange! In the past I’ve made them in tan and white and black and white to match people’s décor. Have fun!
Have a wonderful day, and Always Find Time to Sew!

