
How and where do I start? This is a common question when you are beginning something new. I created a list and advice to help you get started. This is not by any means conclusive but is strictly my opinion. This blog will give you the items and tips you need to begin sewing and quilting.
Fabric
Fabric is expensive. Keep yours and your kids worn out jeans. Denim in quilts works great! My Scrappy Jean Quilt blog is one of my most popular! Check out thrift stores and estate sales for fabric.

Keep your scraps and organize them how it makes sense to you. Color, size, holiday, kids, darks, lights, etc. You may want to combine several categories.
In my scraps I like to divide by color and size. I tend to keep all my Christmas fabric scraps together regardless of size and color. Separating the types of fabrics I use like cottons, home décor, felt, leather, vinyl, and so on is helpful too. My strips are all together but I separate them by color. I keep all my squares together according to size but divide them by color also.
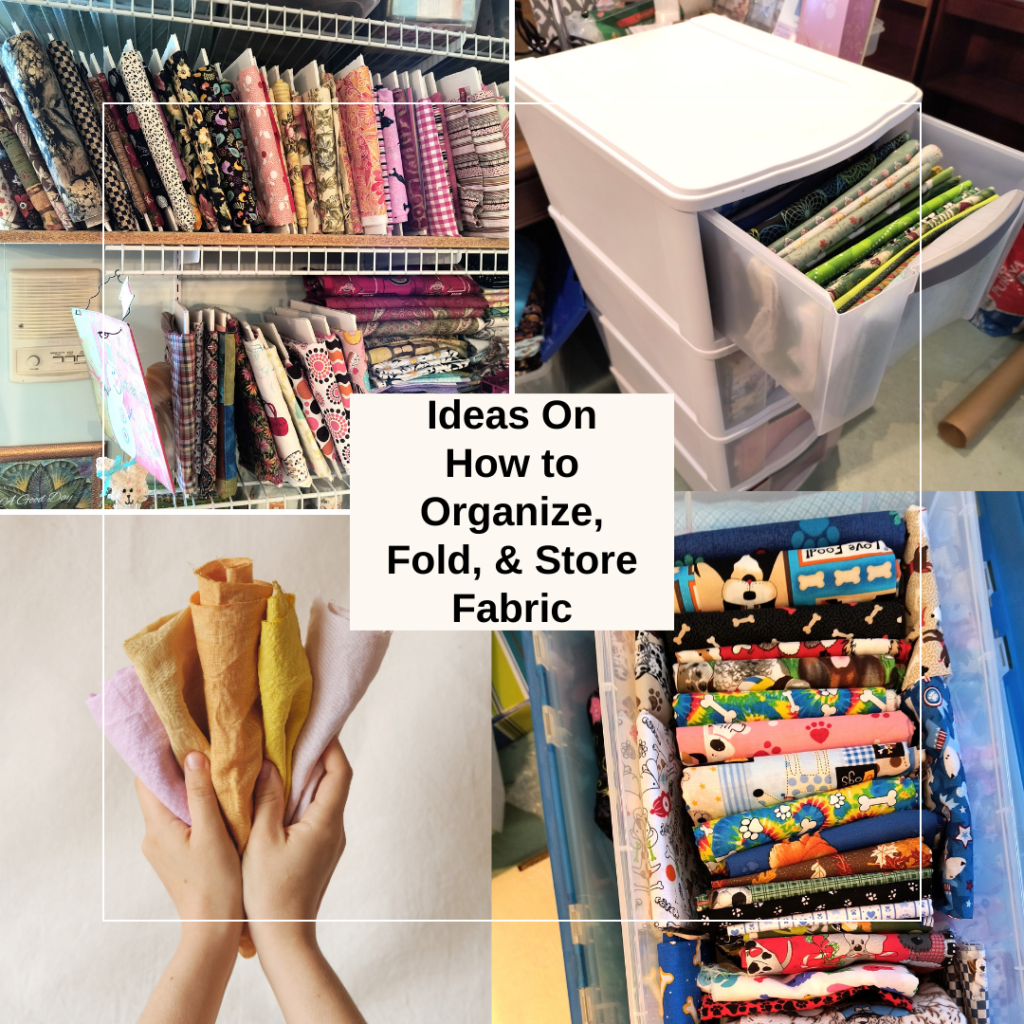
In this blog, Ideas On How To Organize, Fold, & Store Fabric, you will see my process. Learning to fold with a ruler really helps keep your pieces the same size.
Tip:
I went through a time when I collected fabric, not sure what I was going to make with it, but spent a lot of money. I now have a large stash, but my suggestion to you is to only buy fabric when you are going to do a project. Don’t go looking for it if you don’t need it. You only have so much space. Don’t over buy. I say this over and over because you, like all of us quilters before you, will start finding it hard to pass up beautiful fabric. It’s addicting for sure. I wish someone had told me to set limits, don’t shop for it when you don’t need it, …. not that I would have listened.
Notions & Equipment
A Basic Sewing Machine: Look for features like adjustable stitch length and width, and a reverse function,(I purchased a Brother SQ9285 from Walmart for a machine I could travel with) The price was around $225.00. I can only talk about this machine because I have it. I feel it is a great starter machine if you don’t have one yet. It came with many feet, including a walking foot and ¼” foot. It has many stitches. This machine sews great and gave me no trouble when sewing a handbag together.
A Walking Foot: This is essential when you are sandwiching fabric and quilt batting together as you sew. This foot is used in quilting because it moves the fabrics through together as you sew. Without one, you will get lops of fabric where the top or bottom piece moves through faster than the other. A walking foot isn’t necessary for piecing a quilt top together, only when you start quilting the top, batting, and backing together.
A 1/4” Foot: I consider this the most important thing to use and learn as you begin piecing fabric together. Not keeping an accurate ¼” seam as you sew pieces of a block together, will cause your blocks to not go together correctly. This takes practice so don’t get discouraged. We all have our first quilts that look wonky. We love them anyway and they enable us to measure how far we have come!
Iron/Ironing Board: Pressing seams correctly is only second to a perfect ¼” seam in quilting according to me.
Chalk Markers or Erasable Fabric Pens: I use both.
Sewing Machine Needles: The rule of thumb is that a needle should be changed for every eight hours of sewing. A dull needle can cause so many problems. I tell people that if they are having trouble with their machine sewing correctly, start by changing your needle. I use an 80/12 size for my general sewing and piecing. There are leather needles, quilting needles, etc. and they work best when sewing with those materials. Check a needle guide.
Pins/Clips: To hold fabrics together while sewing. I use both.
Sharp Fabric Scissors: There are so many jokes about these, but the truth is you can’t cut fabric with dull scissors. Your fabric scissors should never be used to cut anything else like paper, batting, etc. because this will dull them. Have a pair of sharp, fabric scissors FOR FABRIC ONLY.
A Rotary Cutter: This will help cut fabric and be more precise, but I wouldn’t let kids use them. They are extremely sharp and I know of many people who have been cut by them including myself. My grandma used scissors to cut fabric for quilts as did generations before her. A rotary cutter isn’t necessary, but you won’t find to many quilters today who don’t use them.
Self-healing Cutting Mat: If you are going to use a rotary cutter then you will need a self-healing cutting mat: I like at least 36”x 24”.
Clear Acrylic Quilting Ruler: These rulers have grid lines for accurate measuring. You will need rulers even if you are using scissors. Start with two sizes: 8”x 24” and a 6 ½” square. These are probably the ones I use the most!
Seam Ripper: No matter how many years you sew, you will always need one of these. Mistakes are going to come no matter how good you are and a nice sharp one is your friend for undoing stitches.
Measuring tape: I use this for measuring my quilt top, and if I need to measure around a pillow form. There will be many other times you may use one too!
Hopefully this list will help you get the items you need to start sewing and quilting. In my next blog I’m going to start you with a simple quilt block that will help you get your ¼” down. Practice makes perfect and you will get practice with this block. It is very beginner friendly!
Please don’t forget to join the private Facebook Group, Quilting Friends of Jerianns Handmade. In there we discuss the calendar events, share our projects, and ask questions. Please Like and Follow me on my Facebook Page, Jerianns Handmade and follow me on Instagram at Jerianns.Handmade
Have a wonderful day and, Always Find Time To Sew,

