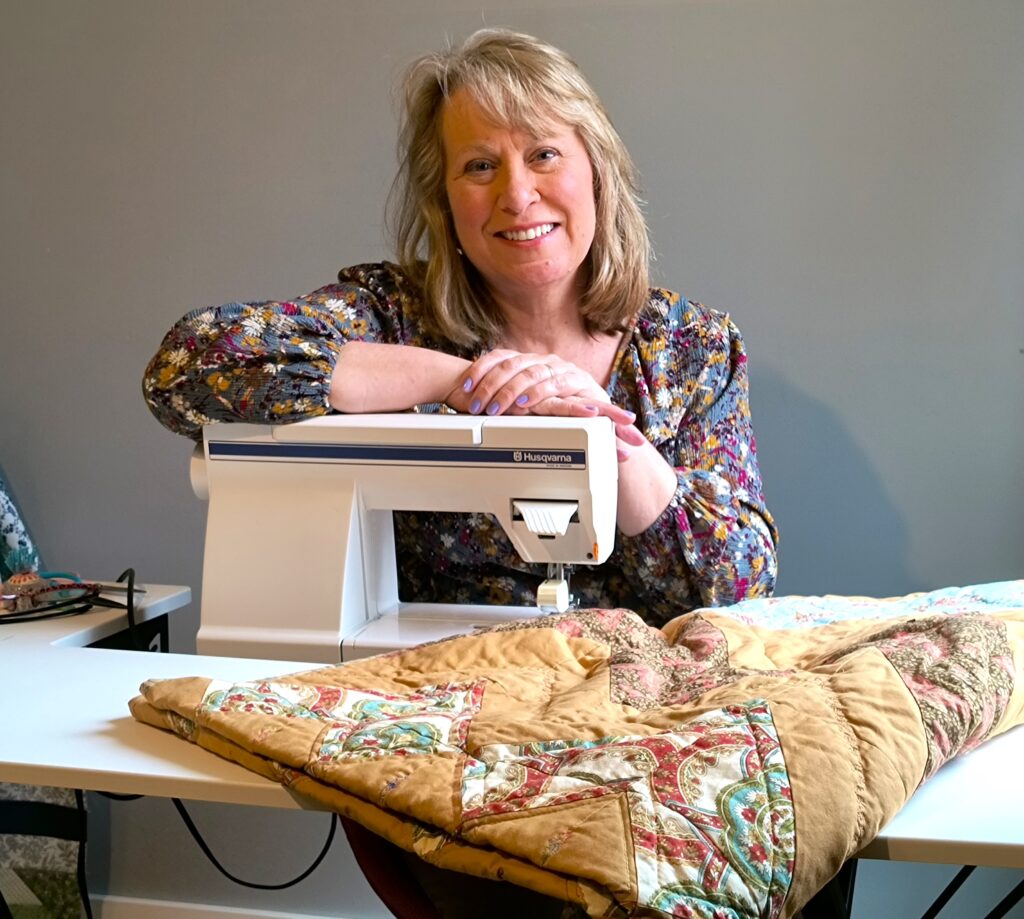

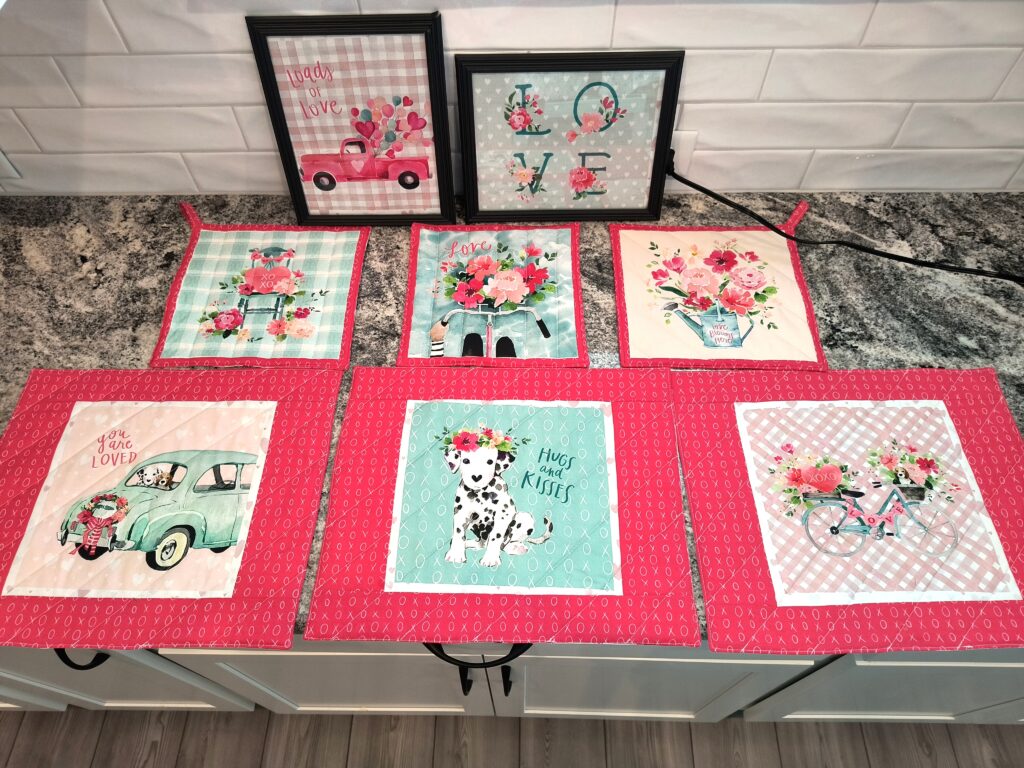
Sewing up a panel can be very rewarding. I will show you how I took a panel and made eight items to decorate my kitchen for February! My black, gray, and white kitchen now has a pop of pink and red!
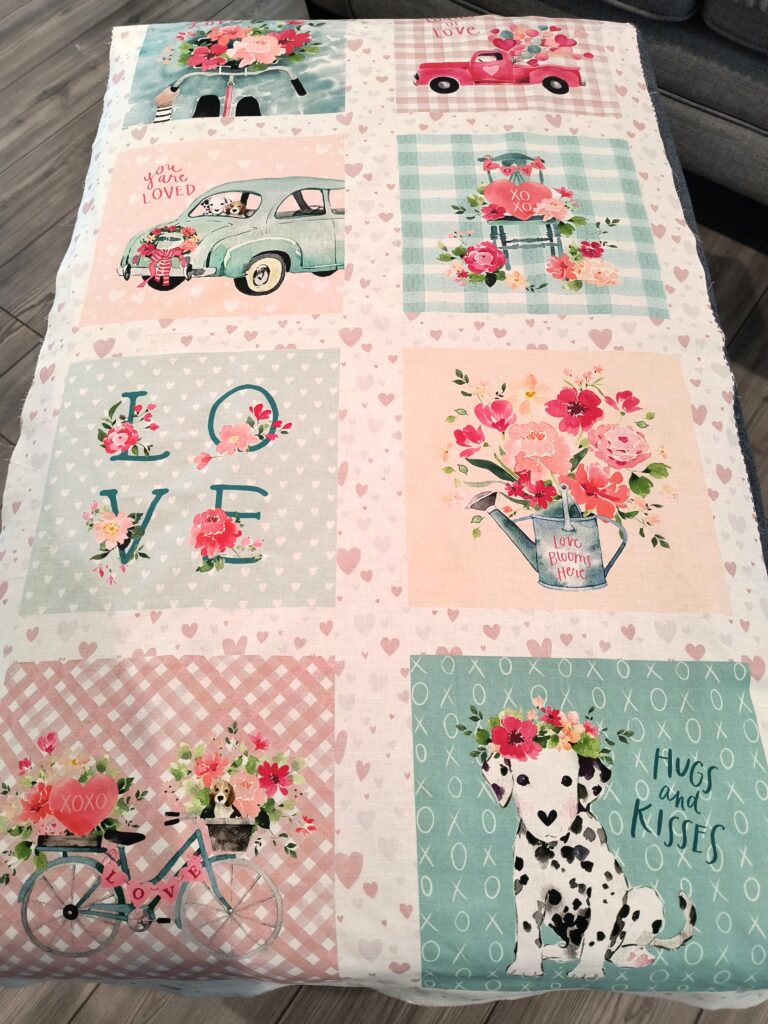
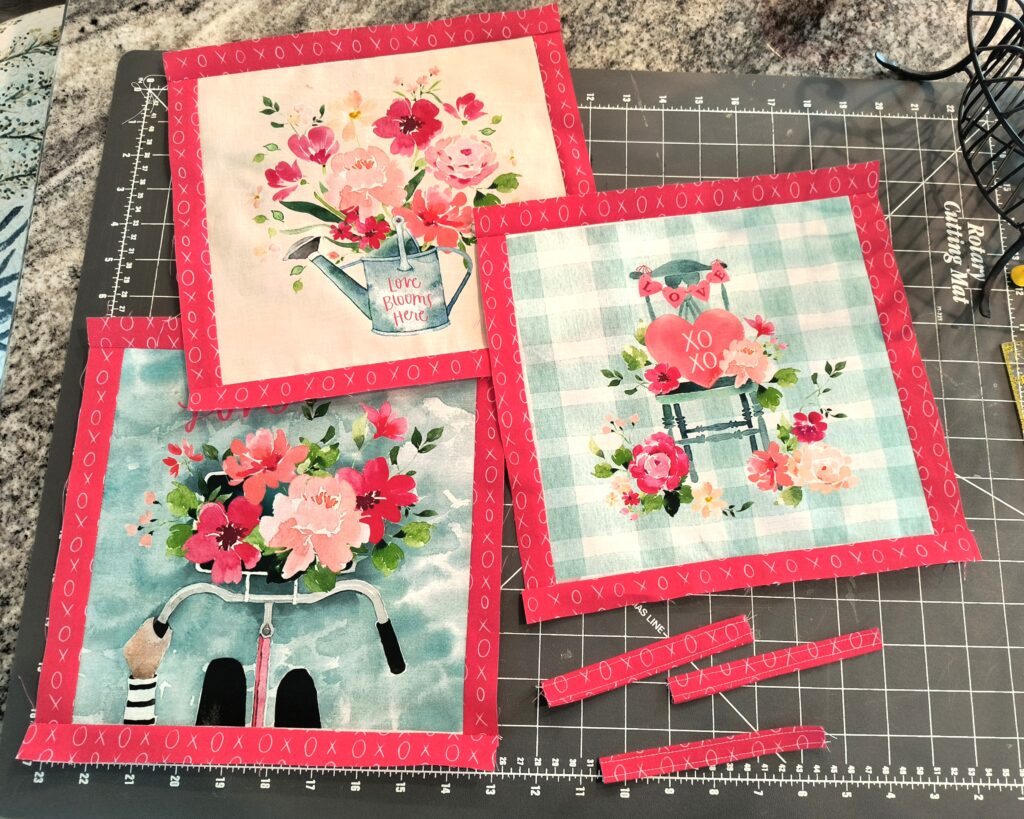
I bought this panel that has eight picture squares. Then I bought a yard each of two matching fabrics. Next, I decided to use each picture square as a separate project: three placemats, two framed pictures and three potholders.
I have written another blog post on panels you might be interested in, How To Sew Quilt Panels.
Deciding How to Cut Up the Panel
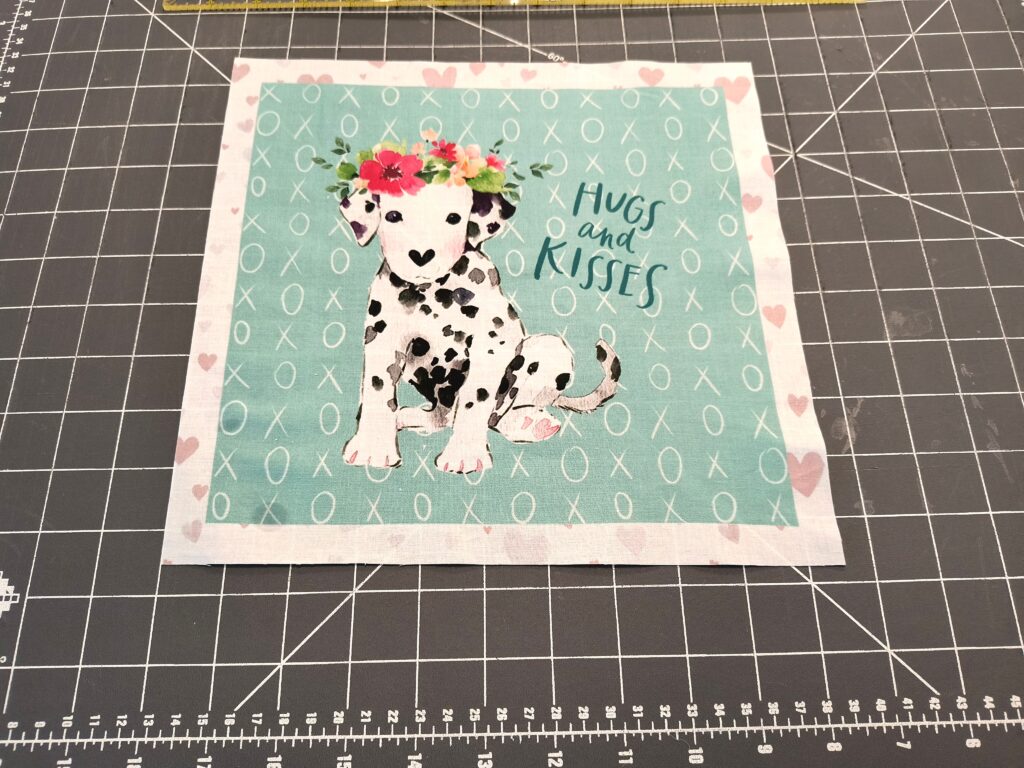
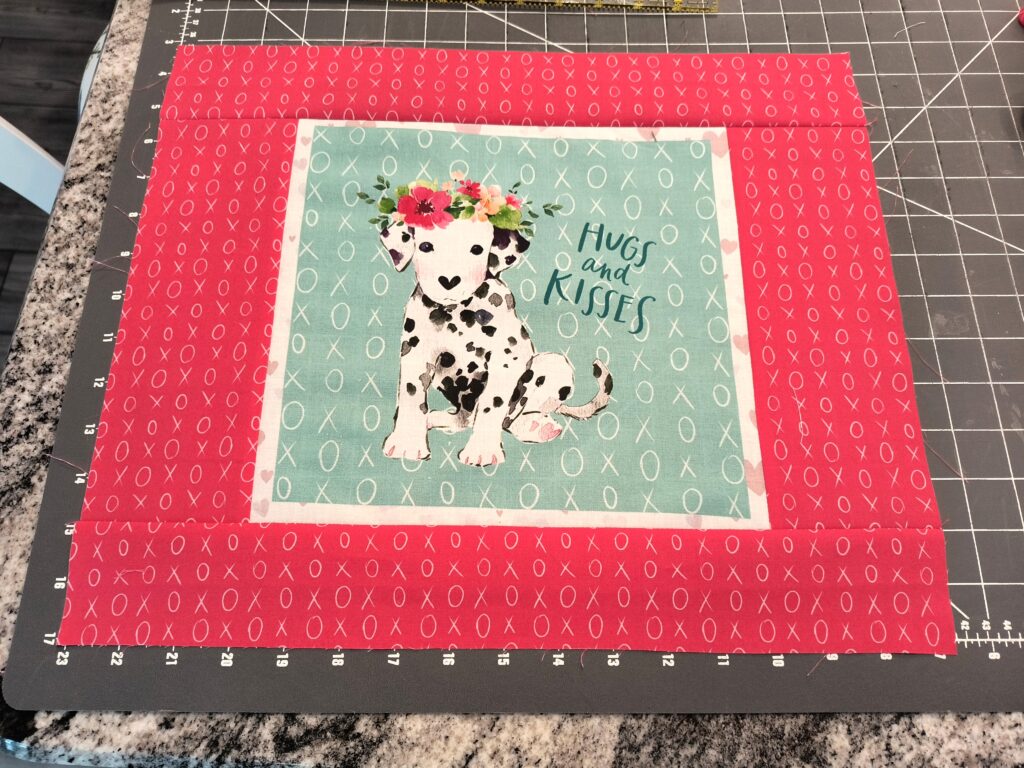
First, I made the placemats. I left a half-inch border around the three pictures I chose. I measured from the background colors out. Problem number one was I discovered the printed background colors weren’t square by just a little bit. To square them up I had to cut into the half-inch border slightly which made it slightly uneven looking, but square. I was making them for me, so I didn’t let that little bit bother me. After they’re all sewn up, it’s not noticeable.
Working with panels can be tricky. I have run into the printing being off before, so be aware of this and check out the panel before cutting.
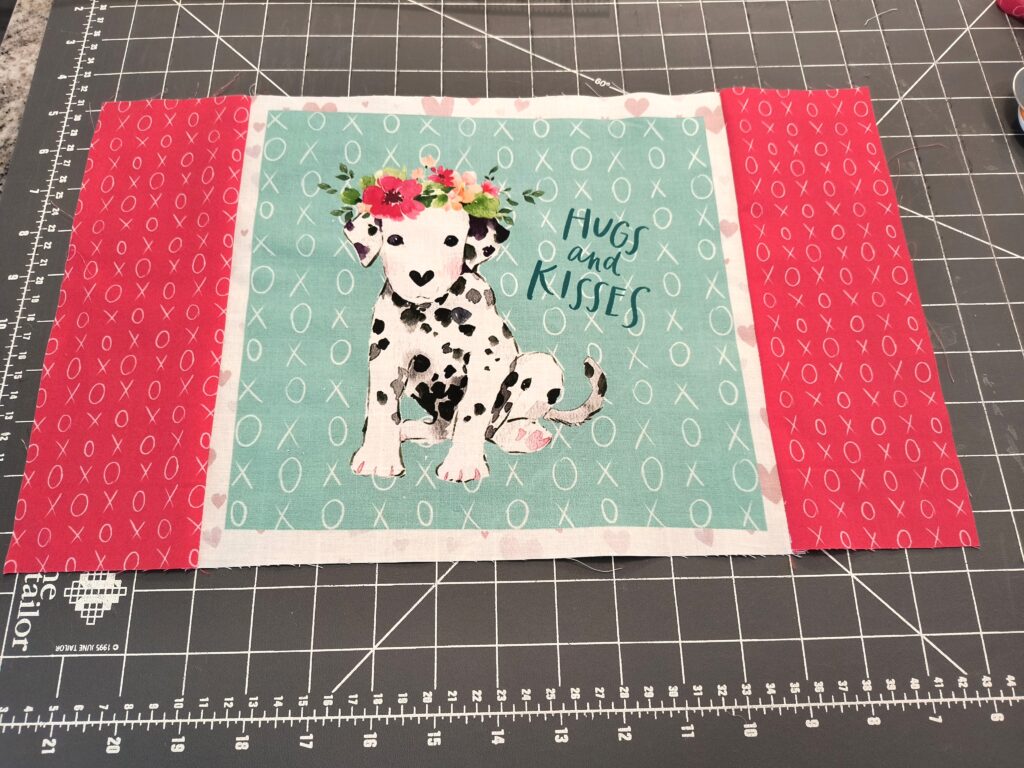
Continuing with the placemats, I made a three-inch border and turned them.
How to Turn a Quilted Project
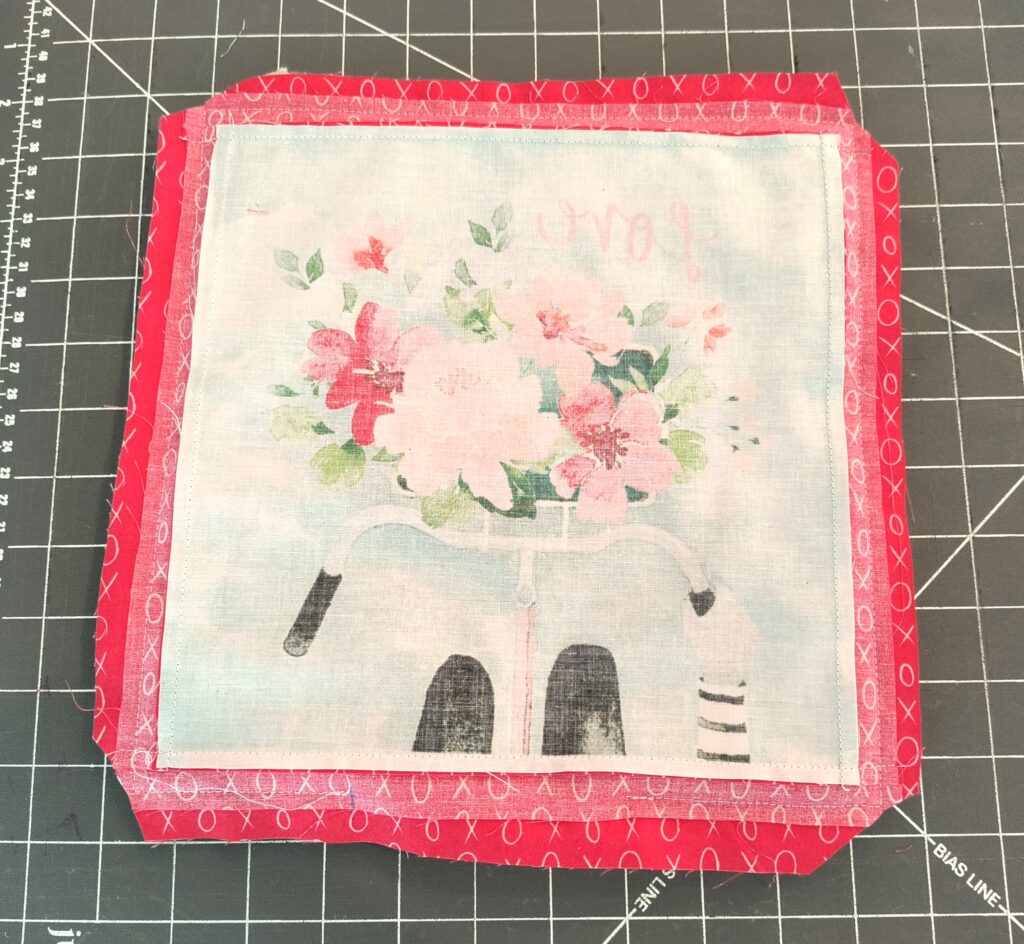
Turning a quilted project doesn’t require binding. The quilt batting and fabric back are cut slightly larger than the top. Layer them with the batting on the bottom, the backing next with the “right side” up followed by the top “right side” down. Put a few safety pins in away from the edge just to hold the three layers together. I also use a “walking foot”.
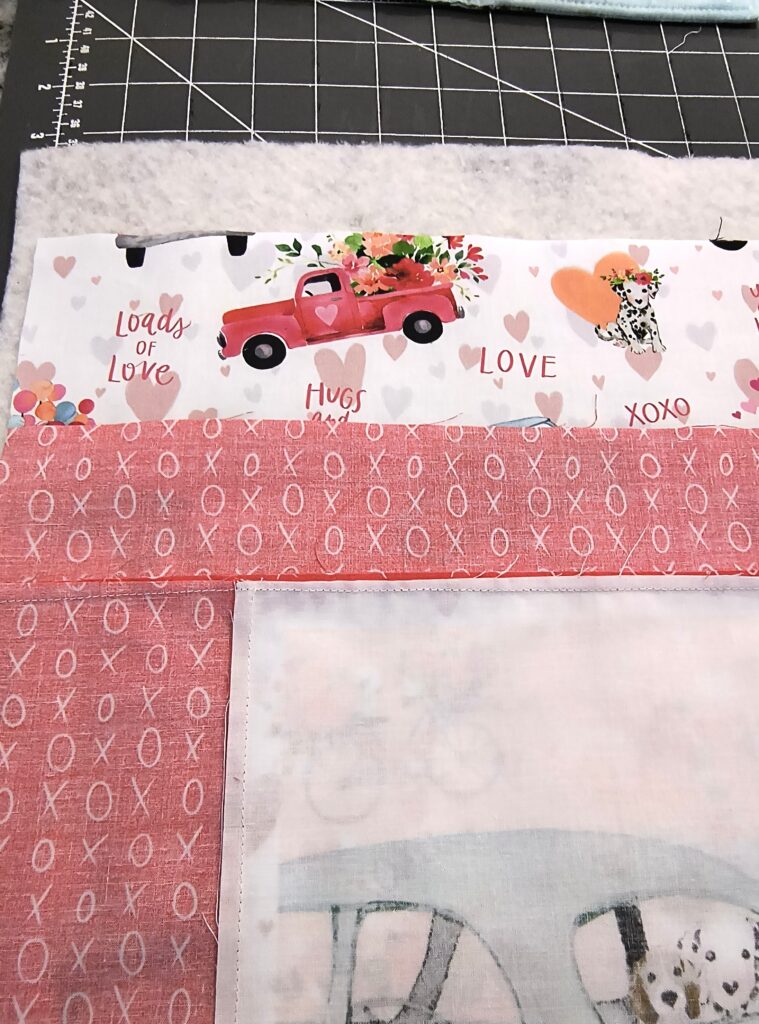
I sewed a quarter inch around the outside leaving a four-inch hole at the bottom for turning the project right side out. Before turning, trim the corners at a diagonal so the points will poke out nicely. Then trim off the excess batting and backing around using the top as the guide.
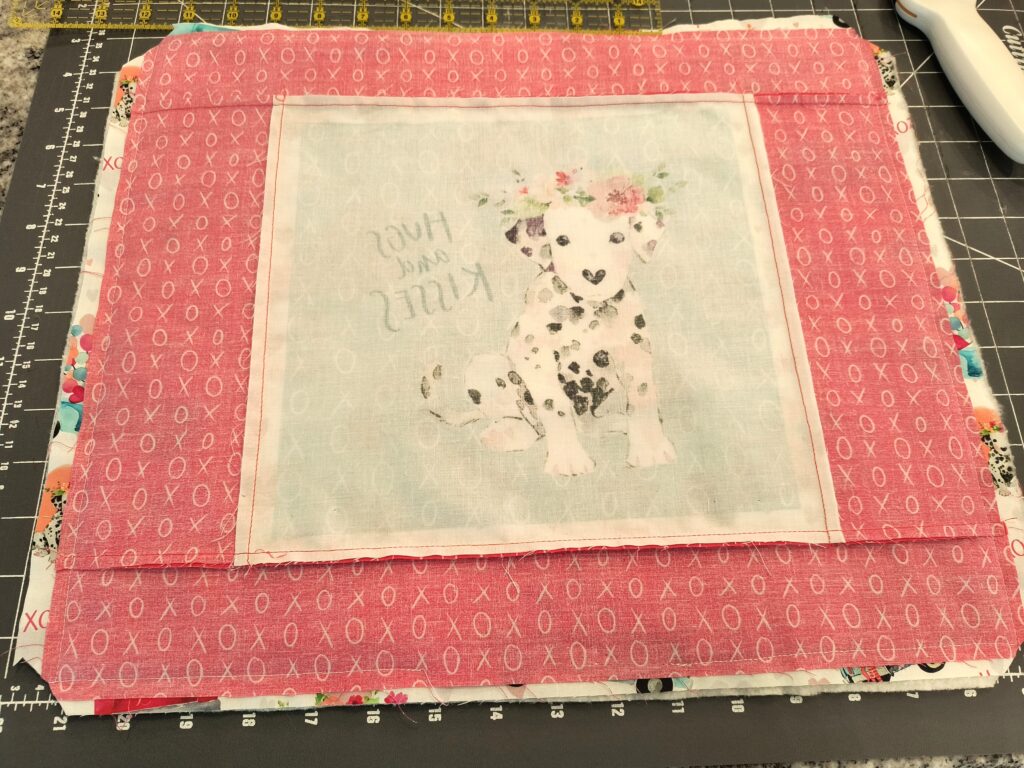
Once you have turned the project right side out and gently poked out the corners, press. Close up the hole in the bottom by sewing an eighth of an inch around the entire outside edge.
That’s how you “turn” a quilting project. Again, it doesn’t need binding, so it saves time and fabric in the long run. I have found this to be great for little projects, probably no larger than a baby size quilt or so. It doesn’t work as well with larger quilts and I wouldn’t recommend it.
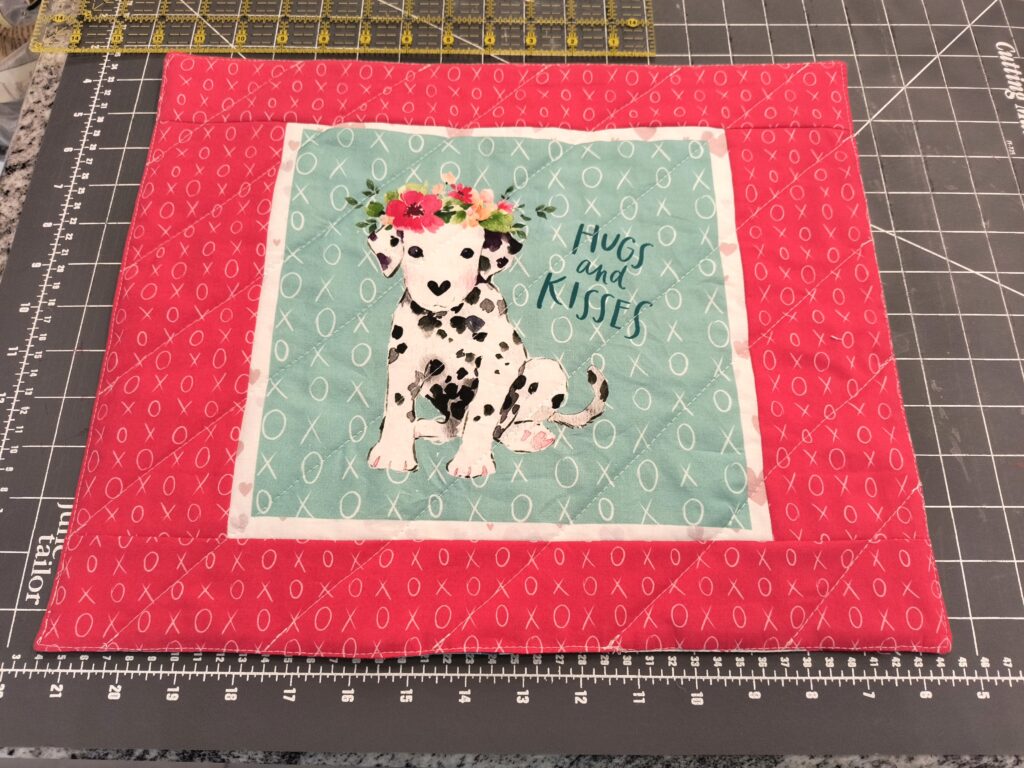
Quilting the Placemats
After the placemats were turned and I sewed around the outside edge, it was time to quilt them. I used my walking foot with the guide attached to get straight lines. Straight line quilting was all I did to finish them. If you need some guidance on quilting, check out, How To Quilt Using Your Home Sewing Machine.
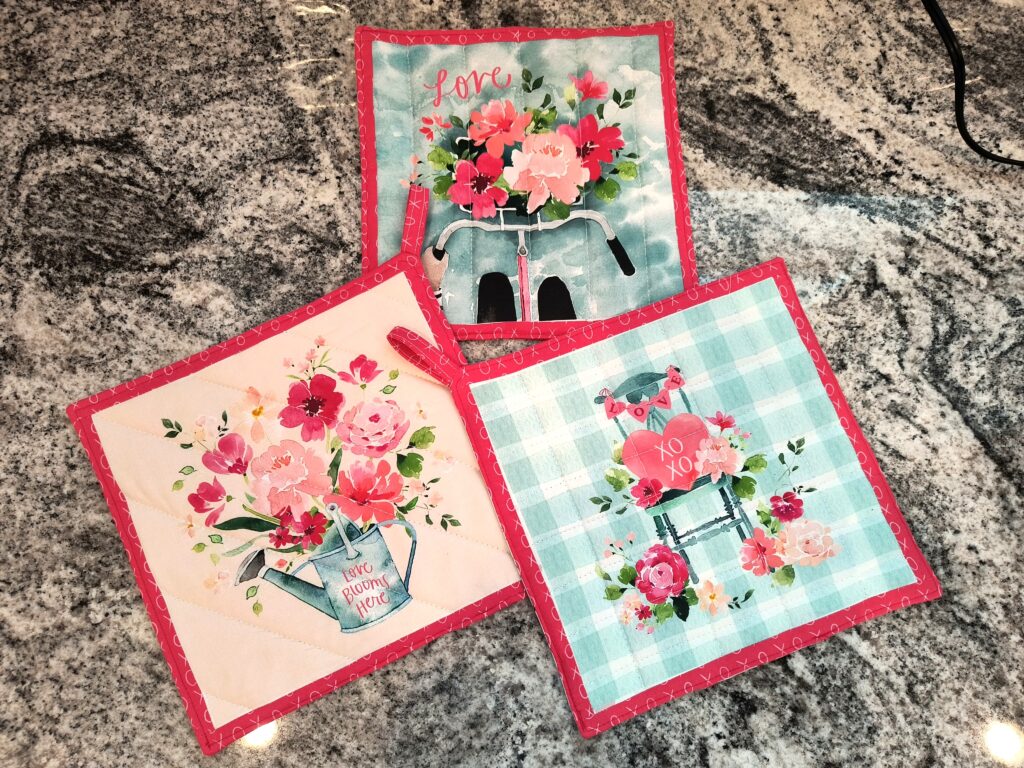
The Potholders
I made the potholders by turning them as well. The only difference is I put an inch border around them so when they are turned, it looks like they have binding! I also used two layers of batting instead of one. I plan to use them only as décor, but if a hot pan gets placed on one it should be okay.
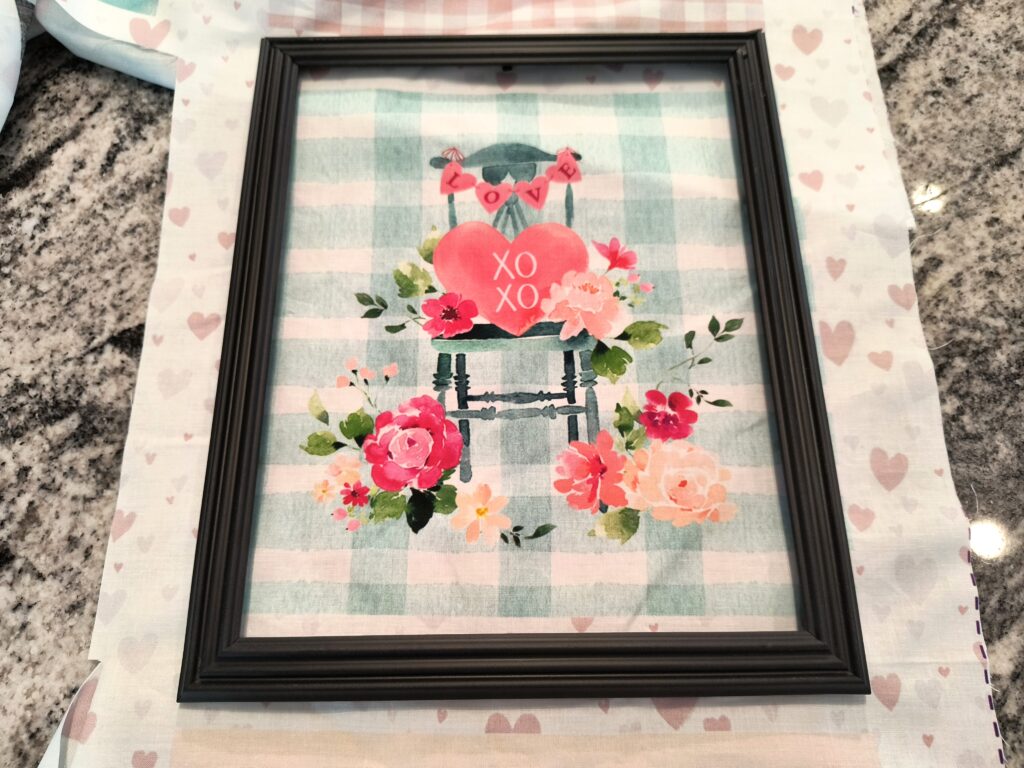
The Pictures
The last two pictures were put in picture frames. One was horizontal and the other vertical. Take the picture frame and placed it over the picture to get it lined up just right. Then place the glass over the picture and use the rotary cutter to cut around the glass leaving a slight quarter inch all around. I think they would look nice quilted too, but I didn’t want to take the time. A backing wouldn’t be necessary for these, just the quilt batting on back.
This is how I sewed up a panel. I used the complete panel and needed extra yardage for the borders and backing. I was thinking later that four of the squares would have looked cute sewn up into a four-square wall hanging! Panels give you so many options and turning them makes for quick and easy projects.
Please don’t forget to join the Facebook Group, Quilting Friends of Jerianns Handmade, LIKE & FOLLOW my Facebook page, Jerianns Handmade along with Instagram at Jerianns.Handmade. Have a great day, and
Always Find Time To Sew,