
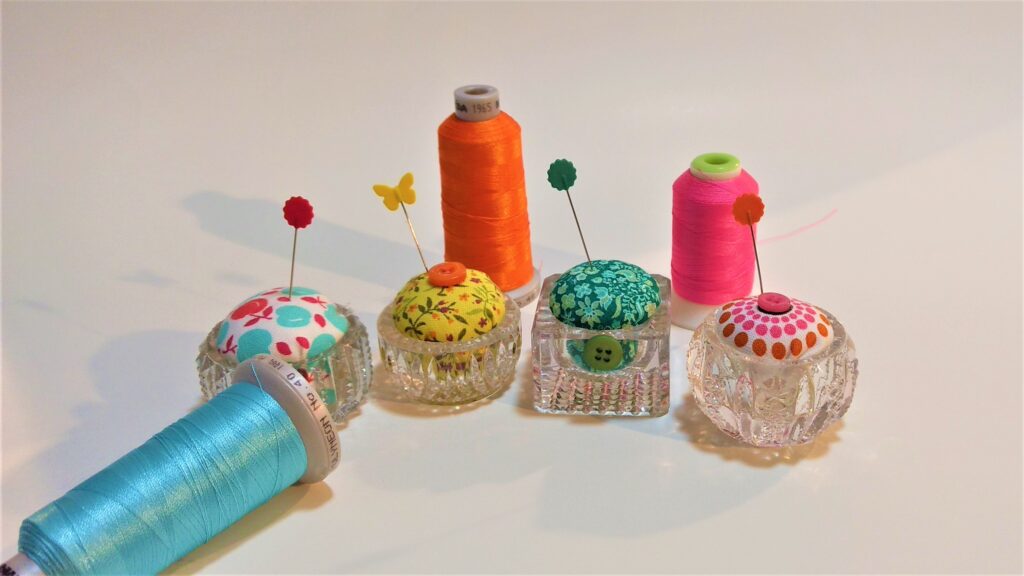
Salt Cellar Pincushion Tutorial
I thought I would share a series of blogs with some quick and easy Christmas gift ideas for quilters this fall. Some will be strictly for our sewing friends, while others would be suitable for anyone. I think these salt cellar pincushions are adorable. If you haven’t downloaded my free Gift List yet, you can find it here. It will help you organize your gift list for the upcoming Christmas season and make you feel more prepared!
Before I get started, let me announce the winner of September’s giveaway. Congratulations Rosemary! You’ve won the Salt Cellar Pincushion! I’m showing how to make them today.
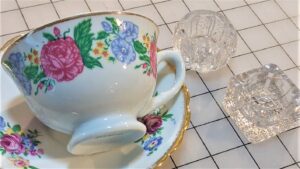
I love going to antique shops and thrift stores to look for pretty glass dishes, coffee cups, etc. Any of these can be used to make an adorable pincushion. This makes a nice gift for anyone who sews.
A Brief History of Salt Cellars
Salt cellars have been around since Roman times. As you can imagine they were a sign of wealth and status. They were placed on the tables for formal dinners. In the 1600’s smaller ones with small salt spoons were used. It wasn’t until the Victorian Age that one was placed at each individual place setting. It was all the rage and very in vogue! Along came the twentieth century and the invention of saltshakers. These came about when anti-clumping salt was invented.
Salt Cellar Pincushion Supply List
- Salt Cellar
- Fiber Fill
- Fabric Scrap
- Dental Floss/Needle
- Glue Gun
Tutorial:
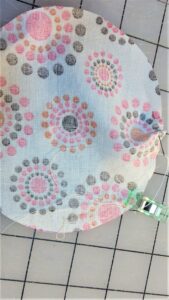
- Choose the salt cellar you would like to use and measure the opening.
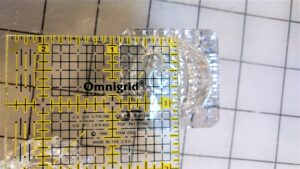
2. Mine measured 1 1/4″ . Now cut out a circle measuring this. There are two ways to do this. The first way is to find a round object that is close to that size; a lid, dish, plate, etc. The second way is to use a special tool that makes perfect circles. Clover makes this tool and it is a time saver.
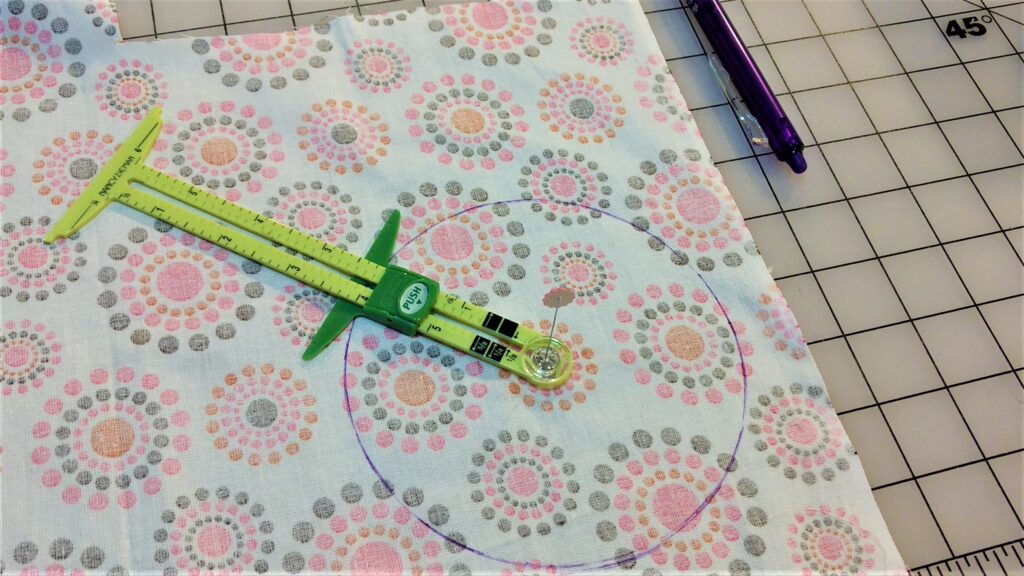
3. Cut out the circle and thread a needle with dental floss. Thread has a tendency to break, but dental floss will not break when you’re trying to cinch up and stuff the pincushion.
4. Take stitches around the circle about an 1/8″ from the edge. Then pull on both ends of the floss to tighten up the fabric circle stuffing it with fiber fill as you go. It’s important to stuff it tight! I needed an extra finger to hold the floss as I knotted it. Luckily my son Nathan was nearby to lend a finger!
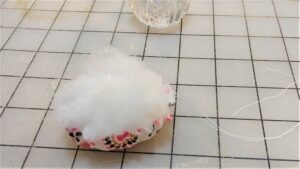

5. Finally, use the glue gun to secure the pincushion into the salt cellar.
I tried to make a larger one in the cup, but I wasn’t happy with how it looked. Now I think I just didn’t get that fabric circle stuffed tight enough. I may try again and let you know!
Good luck and please let me know if you attempt to try one or if you have any questions. I think they turned out really cute and anyone who sews would definitely like to receive one as a gift!

Don’t forget to share this blog with your quilting friends! I would love to have them sign with their emails to receive my newsletters and blog updates.
Always Find Time to Sew,

The pincushions are really cute! Liked the history of salt cellars.
Thanks for reading and your kind comments!
I got my salt cellar pin cushion and it is so cute. Love it, Thank you. Rosemary
So glad you liked it! I really do too. I think it is definitely a gift anyone who sews would like!