
This week we will learn how to make the diamond string quilt block step by step. Heads up! This block is a little harder than the others. I wouldn’t start with this one. Check out one of the others to try first. So far this year we have learned how to make three other types of string blocks. Click on these links to navigate to the one you would like to learn. First, we learned the half square string block. Next, we moved onto the Easy Covered String Block. Finally, last month we learned How to Make the String Quilt Block With a Path.
The Diamond String Quilt Block
Prep:
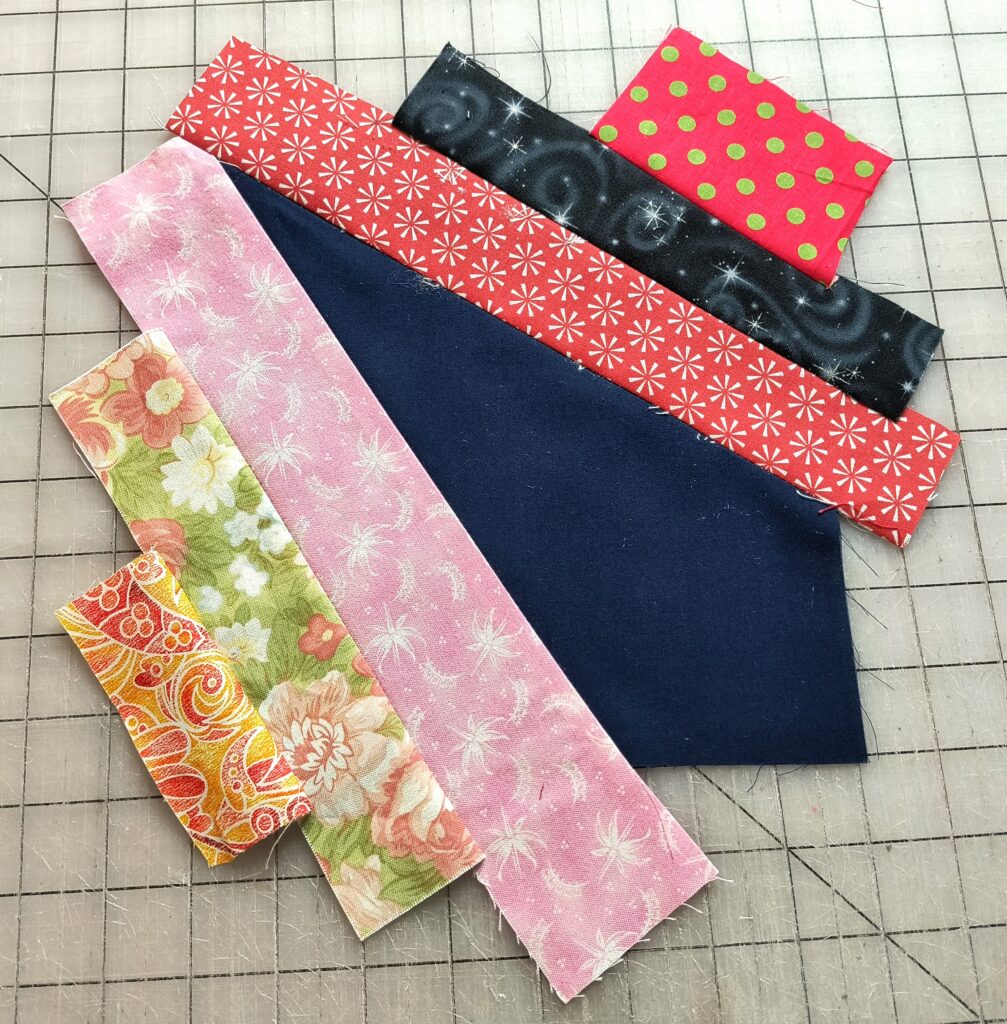
As you decide what color fabric to use for this block, remember it will show. I picked a navy.
Next decide what size you would like this block to be. Determine this by the length of the strings you have. (Strings are strips of fabric that vary in width and length). The strings have to reach past the block from end to end. Mine is a 8 1/2″ square.
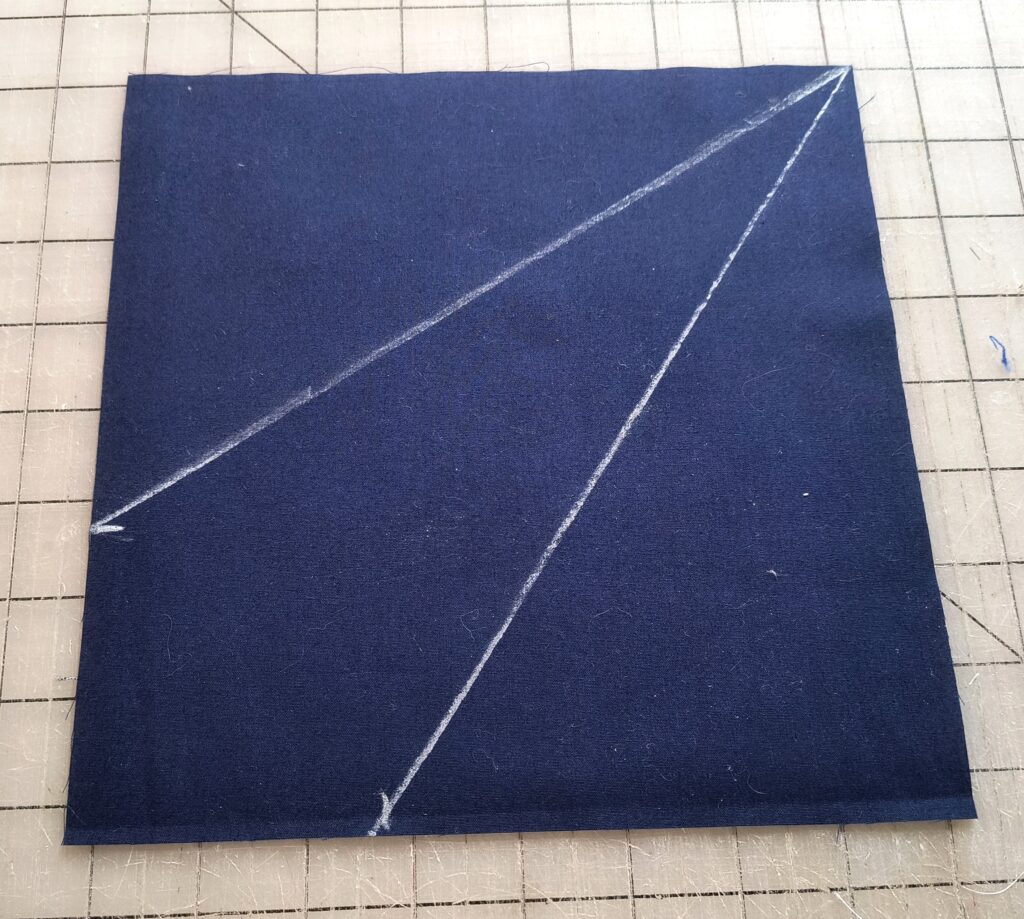
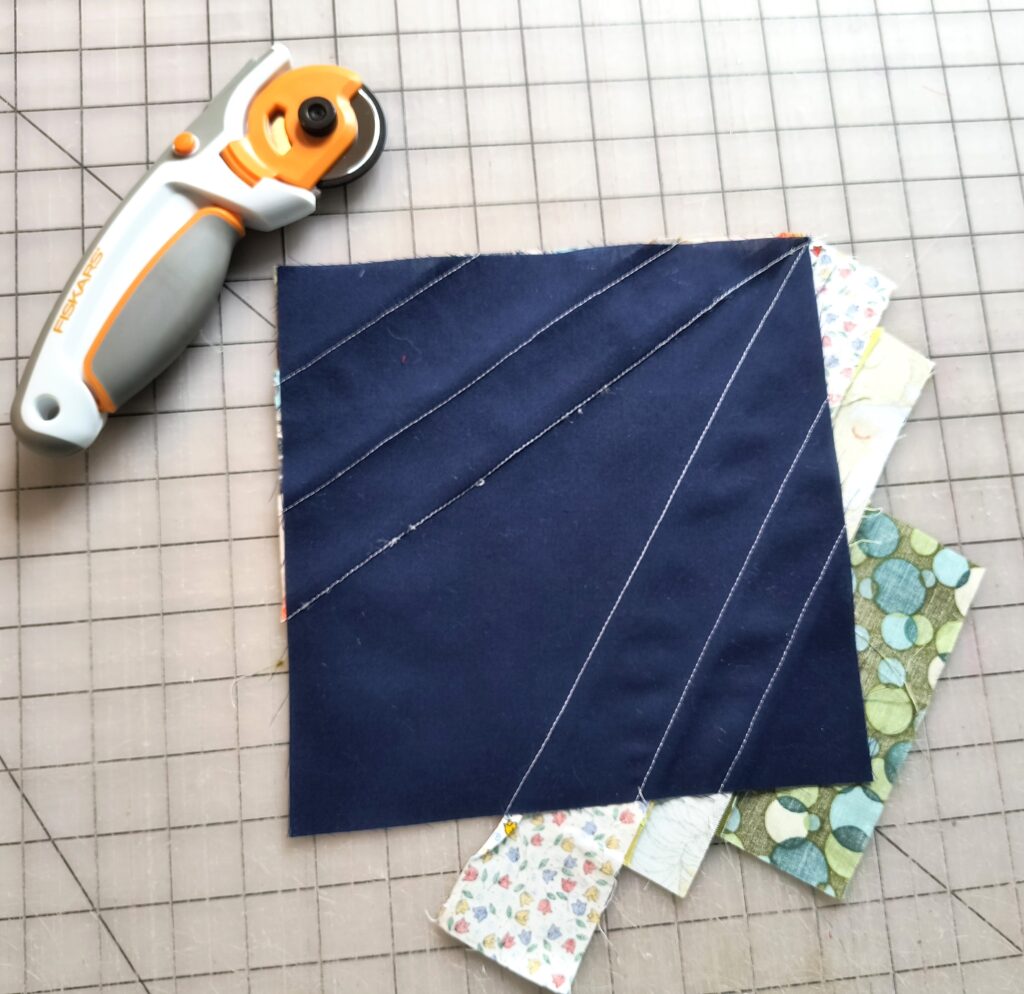
After you have cut out some squares it will be time to mark them. The marks will be on the back or wrong side of the block. First, mark two dots, 3″ away from the same corner, on 2 sides of the block. Next, draw a line from each dot to the opposite corner making a “V” shape. It should look like the picture below. These will be your beginning sew lines.
Sewing:
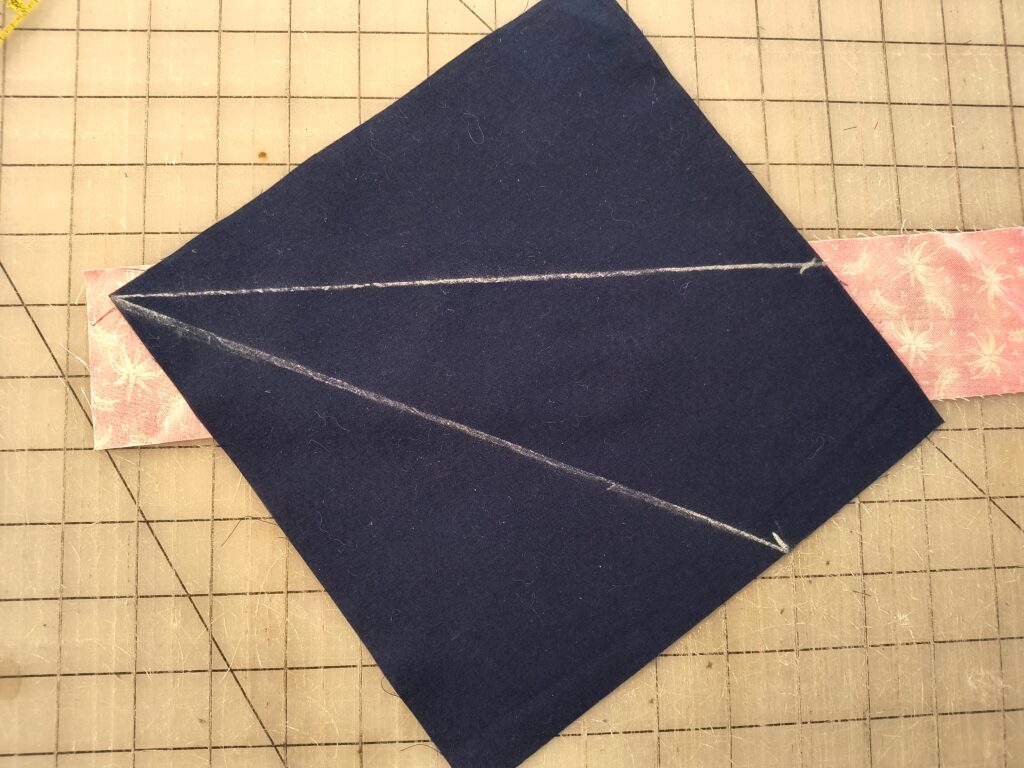
Place a string right side up. Put the block over the string wrong side up so you can see the lines you have drawn. This is the sewing line so place it along the string giving yourself about a 1/4″ of the string above the line. Sew along the line. On the right side press the string back away from the center. Follow the same directions for the other sew line.
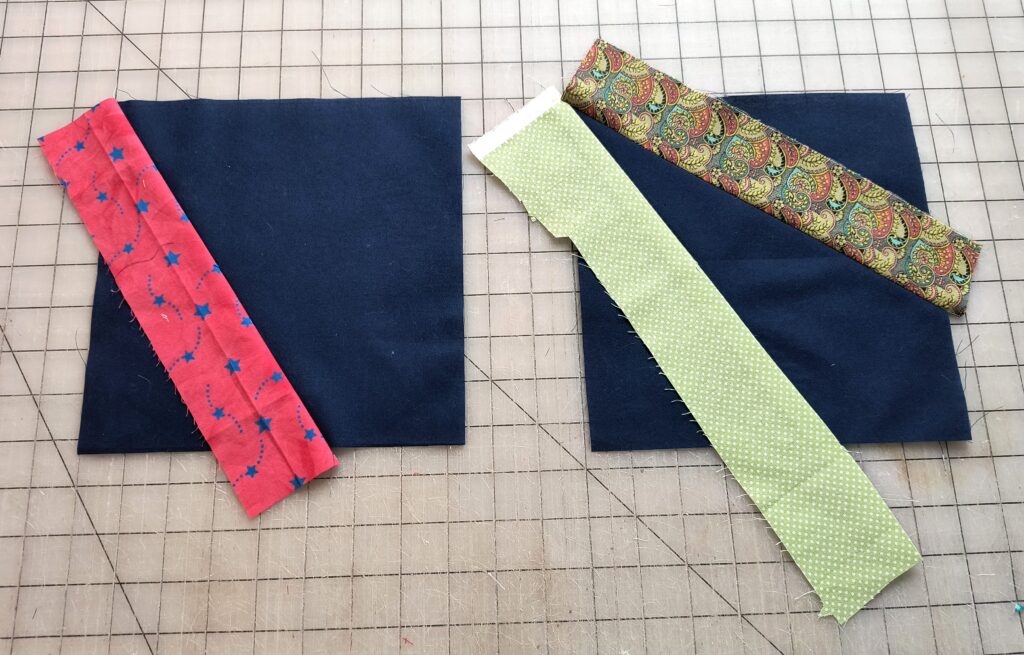
After you have sewn on both beginner strings, then you will continue sewing on your strings from the right side, right sides together with a 1/4″ seam allowance until the block is covered to the corner. Remember the strings have to hang over the block at both ends.
The block is now ready to trim. Turn the block over to the wrong side. Take a ruler and cut off the excess strings using the base block as your guide.
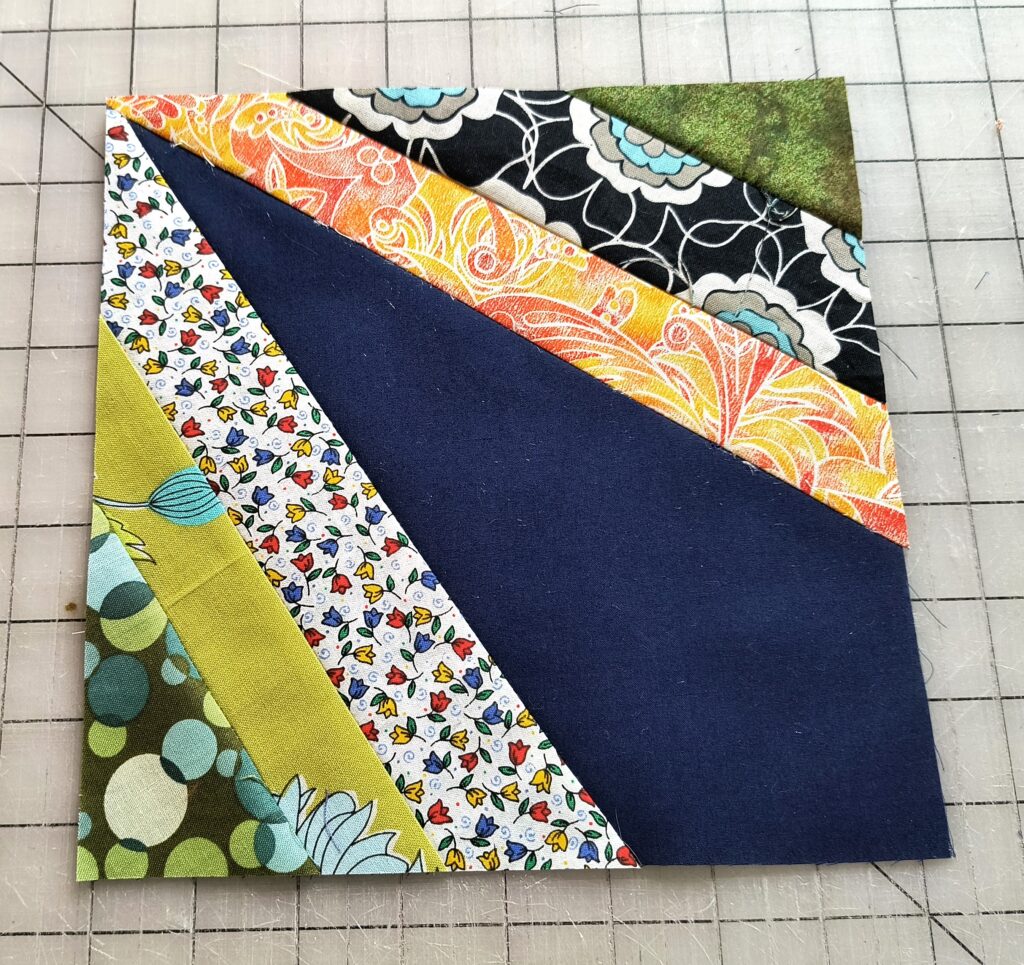
This string block is a bit more challenging, but gives you a neat design. Here are some examples of how you can lay them out.

I hope you have enjoyed how to make the diamond string quilt block. Join me next month and we will learn how to make a new type of string block!
Follow me on Instagram at Jerianns.Handmade. Join in on the Facebook Group, Quilting Friends of Jerianns Handmade, and LIKE and FOLLOW my page, Jerianns Handmade!
Always find time to sew,